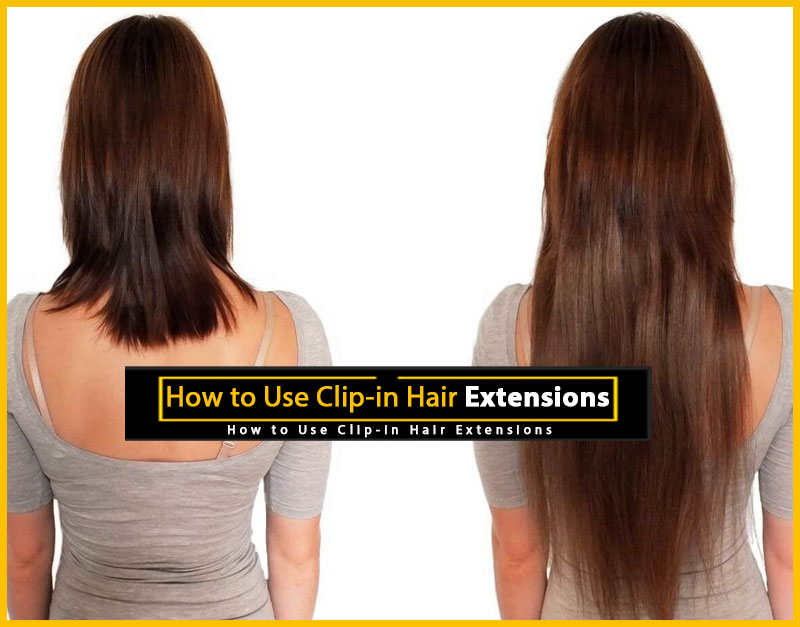
1. Clip-in Hair Extensions
Clip-in extensions are a great way to add length and fullness to your hair quickly, especially when you feel like having ultra babely hair for the day. For those of us who want the best of both worlds, as in long and full hair one day, and our regular hair the next, a set of clip-in hair extensions are a must-have item to add to your great hair tool kit. We recommend using Remy, or any other clip in extensions that are made of real human hair because they will last longer, are easier to wash and style, and blend best with your natural hair.

Plus you can DIY color and tone them to match your hair exactly.
For those of you who are curious about extensions but afraid to commit, clip-ins are the way to go. Want to know where to get your set of clip-in’s, and what to do with them once you have them? Keep reading to find out!
How to Use Clip-in Hair Extensions
2. Which Extensions Should I Buy?

Personally I am a big fan of this inexpensive set of human-hair extensions. They are long, straight and blonde to start, but they scrunch up really nicely into waves if you wet them and let them dry naturally, and they can be heat-styled. They are also easy to cut and color to match your own hair, which is half the fun of owning them. You can fully customize them as your own hair color changes. I highly recommend working with your stylist to customize your hair extensions, but DIY isn’t impossible.
3. How Match Your Extensions

Once you purchase extensions, schedule an appointment with your hairdresser for an extension fitting. Go into the salon with your hair clean and dry as you would normally wear it with the extensions already in your hair (I’ll tell you how to do that in a minute).
Your stylist can cut your extensions into a style that flows with your hair and also talk to you about dyeing your extensions to match your hair color.
Your stylist can color your extensions to match your hair quite easily, so no worries here! After the haircut, make sure to have your stylist explain to you where each hair weft goes on your head to match your cut. You can also use a fine-tipped sharpie marker to number each weft of hair to help you remember where to place your clip-ins.
4. How to Put in Your Clip-in Extensions

To put in your extensions, begin by spraying your hair down with a salt based sea spray or texture spray. Flip your hair upside down, and mist the spray down from your scalp to your ends.
Begin by parting your hair across the nape of your neck, about two inches above your hairline using a rat-tail comb to backcomb.
5. Backcombing
Now, take all the hair below the parting and backcomb it tightly at the base towards the scalp. This will create a nice rat for the clips to cling to. Take your first weft and clip it tightly into your back combed area, just below the parting. Begin with the middle clip, working your way toward the ends, clipping it into place.
6. Finishing Touches

Now, make another parting two inches above the first weft across the back of your head. Back comb all of your hair at the base below the parting, and clip in your second weft of extensions.
Depending on how many wefts you want to place in your hair, continue parting and clipping. I usually clip in three wefts in the back and one on each side. It is important that you make sure to leave enough hair on the top of your head to fall over the highest wefts in order to appropriately cover them.
If you don’t disguise your clip-in extensions so that you can’t see them, you won’t have a nice, seamless transition from your natural hair to your clip-ins.
Iskra Banović is our seasoned Editor-in-Chief at Blufashion. She has been steering the website’s content and editorial direction since 2018. With a rich background in fashion design, Iskra’s expertise spans across fashion, interior design, beauty, lifestyle, travel, and culture.


